Using Phi-3 in Hugging Face
Hugging Face is a very popular AI community with rich data and open source model resources. Different manufacturers will release open source LLM and SLM through Hugging Face, such as Microsoft, Meta, Mistral, Apple, Google, etc.
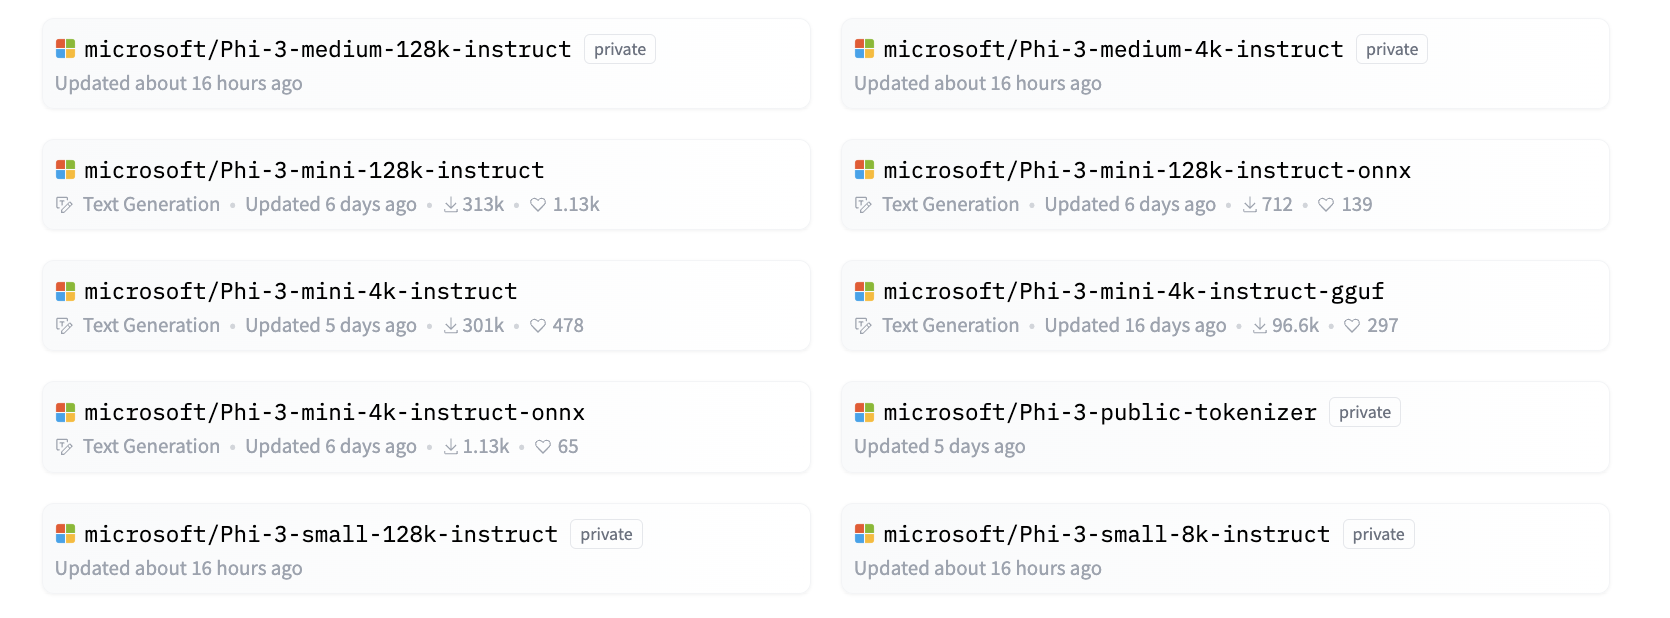
Microsoft Phi-3 has been released on Hugging Face. Developers can download the corresponding Phi-3 model based on scenarios and businesses。In addition to deploying Phi-3 Pytorch models on Hugging Face, we also released quantized models, using GGUF and ONNX formats to give end users a choice.
1. Download Phi-3 model directly from Hugging Face
sudo apt update

sudo apt -y install git-lfs

git lfs install

git clone https://huggingface.co/microsoft/Phi-3-mini-4k-instruct
[China-local] Download Phi3-model
NOTE: Get HuggingFace Token first
- Get your own token by accessing : Get_token
NOTE: Replace
Your-TokenandYour-dirwith your own api token key and local directory for model storage.
- Install local source tool, create conda virtual environment.
Please note that we have already installed Miniforge3 for you, you don't have to install it again.
cd ~

[skip this step] bash Miniforge3.sh -b -p "${HOME}/conda"

source "${HOME}/conda/etc/profile.d/conda.sh"

conda activate

[skip this step] conda create -n hfdev python==3.10.12

conda activate hfdev

pip install -U huggingface_hub
- Set local environment variable
export HF_ENDPOINT=https://hf-mirror.com
- In this experiment, please set
--local-dirto/home/mgyslm/zhihu/models/, and you do not have to download this model due to we have already download it in the same location.
huggingface-cli download --token [Your-token] --resume-download microsoft/Phi-3-mini-4k-instruct --local-dir [Your-dir]
2. Learn about Phi-3 Prompt Template
There is a specific data template when training Phi-3, so when using Phi-3, sending Prompt needs to be set through the Template. During fine-tuning, the data also needs to be expanded according to the template.
The template has three roles, including system, user, and assistant.
<|system|>
Your Role<|end|>
<|user|>
Your Question?<|end|>
<|assistant|>
such as
<|system|>
Your are a python developer.<|end|>
<|user|>
Help me generate a bubble algorithm<|end|>
<|assistant|>
3. Inferences Phi-3 with Python
Inferences with Phi-3 refer to the process of using the Phi-3 models to generate predictions or outputs based on input data. The Phi-3 models are a family of small language models (SLMs) that include variants like Phi-3-Mini, Phi-3-Small, and Phi-3-Medium, each designed for different application scenarios and with varying parameter sizes. These models have been trained on high-quality data and are fine-tuned for chat capabilities, alignment, robustness, and safety. They can be deployed on both edge and cloud platforms using ONNX and TensorFlow Lite, and are developed in accordance with Microsoft’s Responsible AI principles.
For example, the Phi-3-Mini is a lightweight, state-of-the-art open model with 3.8 billion parameters, suitable for prompts using chat format and supporting a context length of up to 128K tokens. It’s the first model in its weight class to support such a long context.
The Phi-3 models are available on platforms like Azure AI MaaS, HuggingFace, NVIDIA, Ollama, ONNX, and can be used for a variety of applications, including real-time interactions, autonomous systems, and apps requiring low latency.
There are many ways to reference Phi-3. You can use different programming languages to reference the model.
Here is an example in Python.
- Install accelerate library in conda virtualenv environment, if your virtualenv
environment has not been activated, please active it by typing
conda activate
hfdev
conda activate hfdev
pip install accelerate
- Create democode and paste following code:
Replace
<YOUR_LOCAL_MODEL_PATH>to your model which has been downloaded in front steps.
import torch
from transformers import AutoModelForCausalLM, AutoTokenizer, pipeline

torch.random.manual_seed(0)

# set the local path of the model which is download before.
local_model_path = '<YOUR_LOCAL_MODEL_PATH>'

model = AutoModelForCausalLM.from_pretrained(
    # "microsoft/Phi-3-mini-4k-instruct",
    local_model_path,
    device_map="cuda",
    torch_dtype="auto",
    trust_remote_code=True,
)
tokenizer = AutoTokenizer.from_pretrained("microsoft/Phi-3-mini-4k-instruct")

messages = [
    {"role": "system", "content": "Your are a python developer."},
    {"role": "user", "content": "Help me generate a bubble algorithm"},
]

pipe = pipeline(
    "text-generation",
    model=model,
    tokenizer=tokenizer,
)

generation_args = {
    "max_new_tokens": 600,
    "return_full_text": False,
    "temperature": 0.3,
    "do_sample": False,
}

output = pipe(messages, **generation_args)
print(output[0]['generated_text'])
You can see if this result is consistent with the result in your mind